
Drew's Kombucha Kimchi!

… kimboochi?… kombukimchu? Idk, we’ll stick with kombucha kimchi for now. I'm not going to bore you with 14 paragraphs of backstory and justifications to maximize the SEO on this recipe. I make good kombucha and about one blog post a year, not ad revenue. Suffice to say, this is my personal favourite way to make the vibrant, spicy, flavour LOADED, fermented, and probiotic Korean superfood known as kimchi! Am I using the term superfood right? It is pretty super, and it's definitely healthy!
This recipe is by no means an authority on the “correct” or authentic way to make kimchi - the staple side dish of brined and fermented vegetables has evolved with Korean culture through centuries of colonization and trade. Kimchi recipes are often handed down in a family from past generations, and made with radish, cucumber, eggplant, and a wide variety of other vegetables and seasonings depending on the region and tradition! When you’re done here, you should dig around and see what other types and methods interest you (here are some breakdowns of the history to get you started). I just wanted to show off my personal method for making my favourite baechu kimchi (made with Napa cabbage).
I tend to use what I have in the house to experiment from batch to batch, so there are some substitution options in the ingredients below. Fermented cabbage is endlessly re-mixable, and you can use this process to make all sorts of delightful ferments. For this recipe, I'm using kombucha vinegar and a little sugar in the form of mirin to kickstart the fermentation, but you can also use the juices from a previous batch of fermented cabbage, or use no starter and let the microbes figure it out themselves!
Obviously, there are a million ways to use kimchi, and whenever we have it on hand I end up eating it almost every day. Some of our go-tos are kimchi fried rice, kimchi pancakes, and just using it as a side dish for every meal (if you’re a breakfast person, TRUST me, it’s a fried egg's best friend). Anyway, enough gab from me, let's get to it!

For tools, you're gonna need:
Chef's or Santoku Knife (a mandolin can also be used for ultra thin veggies, but be careful with those things for goodness’ sake!)
Cutting Board
Large Metal Bowl
Tbsp Measure
¼ Cup Measure
Kitchen Scale
Fermentation Vessel(s) (large glass jar with or without an airlock lid, fermentation crock, etc)
Canning Funnel
Fermentation Tamper (or just like, your biggest wooden spoon. Not everyone is as into fermentation as I am :)
Clean Hands
Prep Time: Uhm, like, 45 minutes or something of active prep time and then two or so weeks of mostly waiting.
Ingredients-wise, we're looking at:
1 large head of Napa Cabbage
1 medium Yellow Onion
2-3 small Carrots
1 bunch of Red Radishes (or a Small Daikon Radish)
2 inch piece of Ginger
1 head of Garlic
Large bunch of Chives (or Green Onions)
Approximately 5 tbsp, or 48 grams of Diamond Crystal Kosher Salt (3.5% of all vegetables by weight)
¾ cup Gochugaru (Korean Chili Flakes)
2 tbsp Escarpment Kombucha Vinegar
2 tbsp Mirin (or 1 tbsp Sugar)
1 tbsp Fish Sauce (or Korean Fermented Shrimp and Crab Paste. Or keep it vegan and use a seaweed powder!)
1 Asian Pear (optional, and not included in the photos because I didn't have one and I'm not about to drive to the store for one pear that Robyn doesn't like. It do be pretty tasty though.)
Love (it's proven to help the microbes!)
Preparation, Method, "The Do-It", etc.:

Start by getting everything you'll need out and measured! Measure the kombucha vinegar, mirin, fish sauce, and gochugaru and set aside. Quarter the Napa cabbage length-wise, remove any sad looking outer leaves, and rinse well. Rinse and peel your carrots, rinse and trim the radishes, and finally trim, halve and peel your onion.
Once your mise is en place, begin by preparing and weighing the vegetables. It's best to weigh the cabbage, carrots, onions and radishes to get precisely the right ratio of salt, so I like to do that before slicing them into their final shapes. When you have the total weight of your vegetables, multiply that number by 0.035 (or 3.5%) to get the perfect amount of salt. I ended up with 48 grams. If you don't have a kitchen scale, you can use about 5 tbsp of kosher salt as listed above. Be aware that different brands of salt have different densities though, so it really is best to go by weight.
Next, sprinkle most of the salt on and in between the leaves of each quarter of Napa cabbage from above, and place them in a large metal bowl. Optionally, you can do a rough chop first, but I usually leave each quarter whole: you should be working the cabbage hard enough to break it apart anyway. Speaking of which, firmly massage the salt into the cabbage leaves using your hands for 3-4 minutes. This helps the salt to soften up the cabbage, break down its cell walls, and release the moisture from within, which we need to cover the kimchi during fermentation.


Let the cabbage sit at room temp for 20-30 minutes, whilst you prep the other vegetables. Thinly slice the carrots and radishes into rounds or half moons, and thinly slice the onion length wise. Thinly slice the pear, if using. Roughly chop the chives (I like about 1 cm pieces), and peel the garlic cloves. You can peel the ginger too, but I never bother.

Add the chives, carrots, onion, pear and radish and the remaining salt to the bowl with the cabbage, and massage everyone together with your hands for another 2-3 minutes.
Let your salted cabbage and friends hang out for a few more minutes, and we're ready to add everything else! Many kimchi recipes call for blending all of the aromatics and seasonings into a paste, but I don't enjoy cleaning my food processor, so I prefer to add all the components of my would-be flavour paste over the wilted veggies and work them in by hand instead.
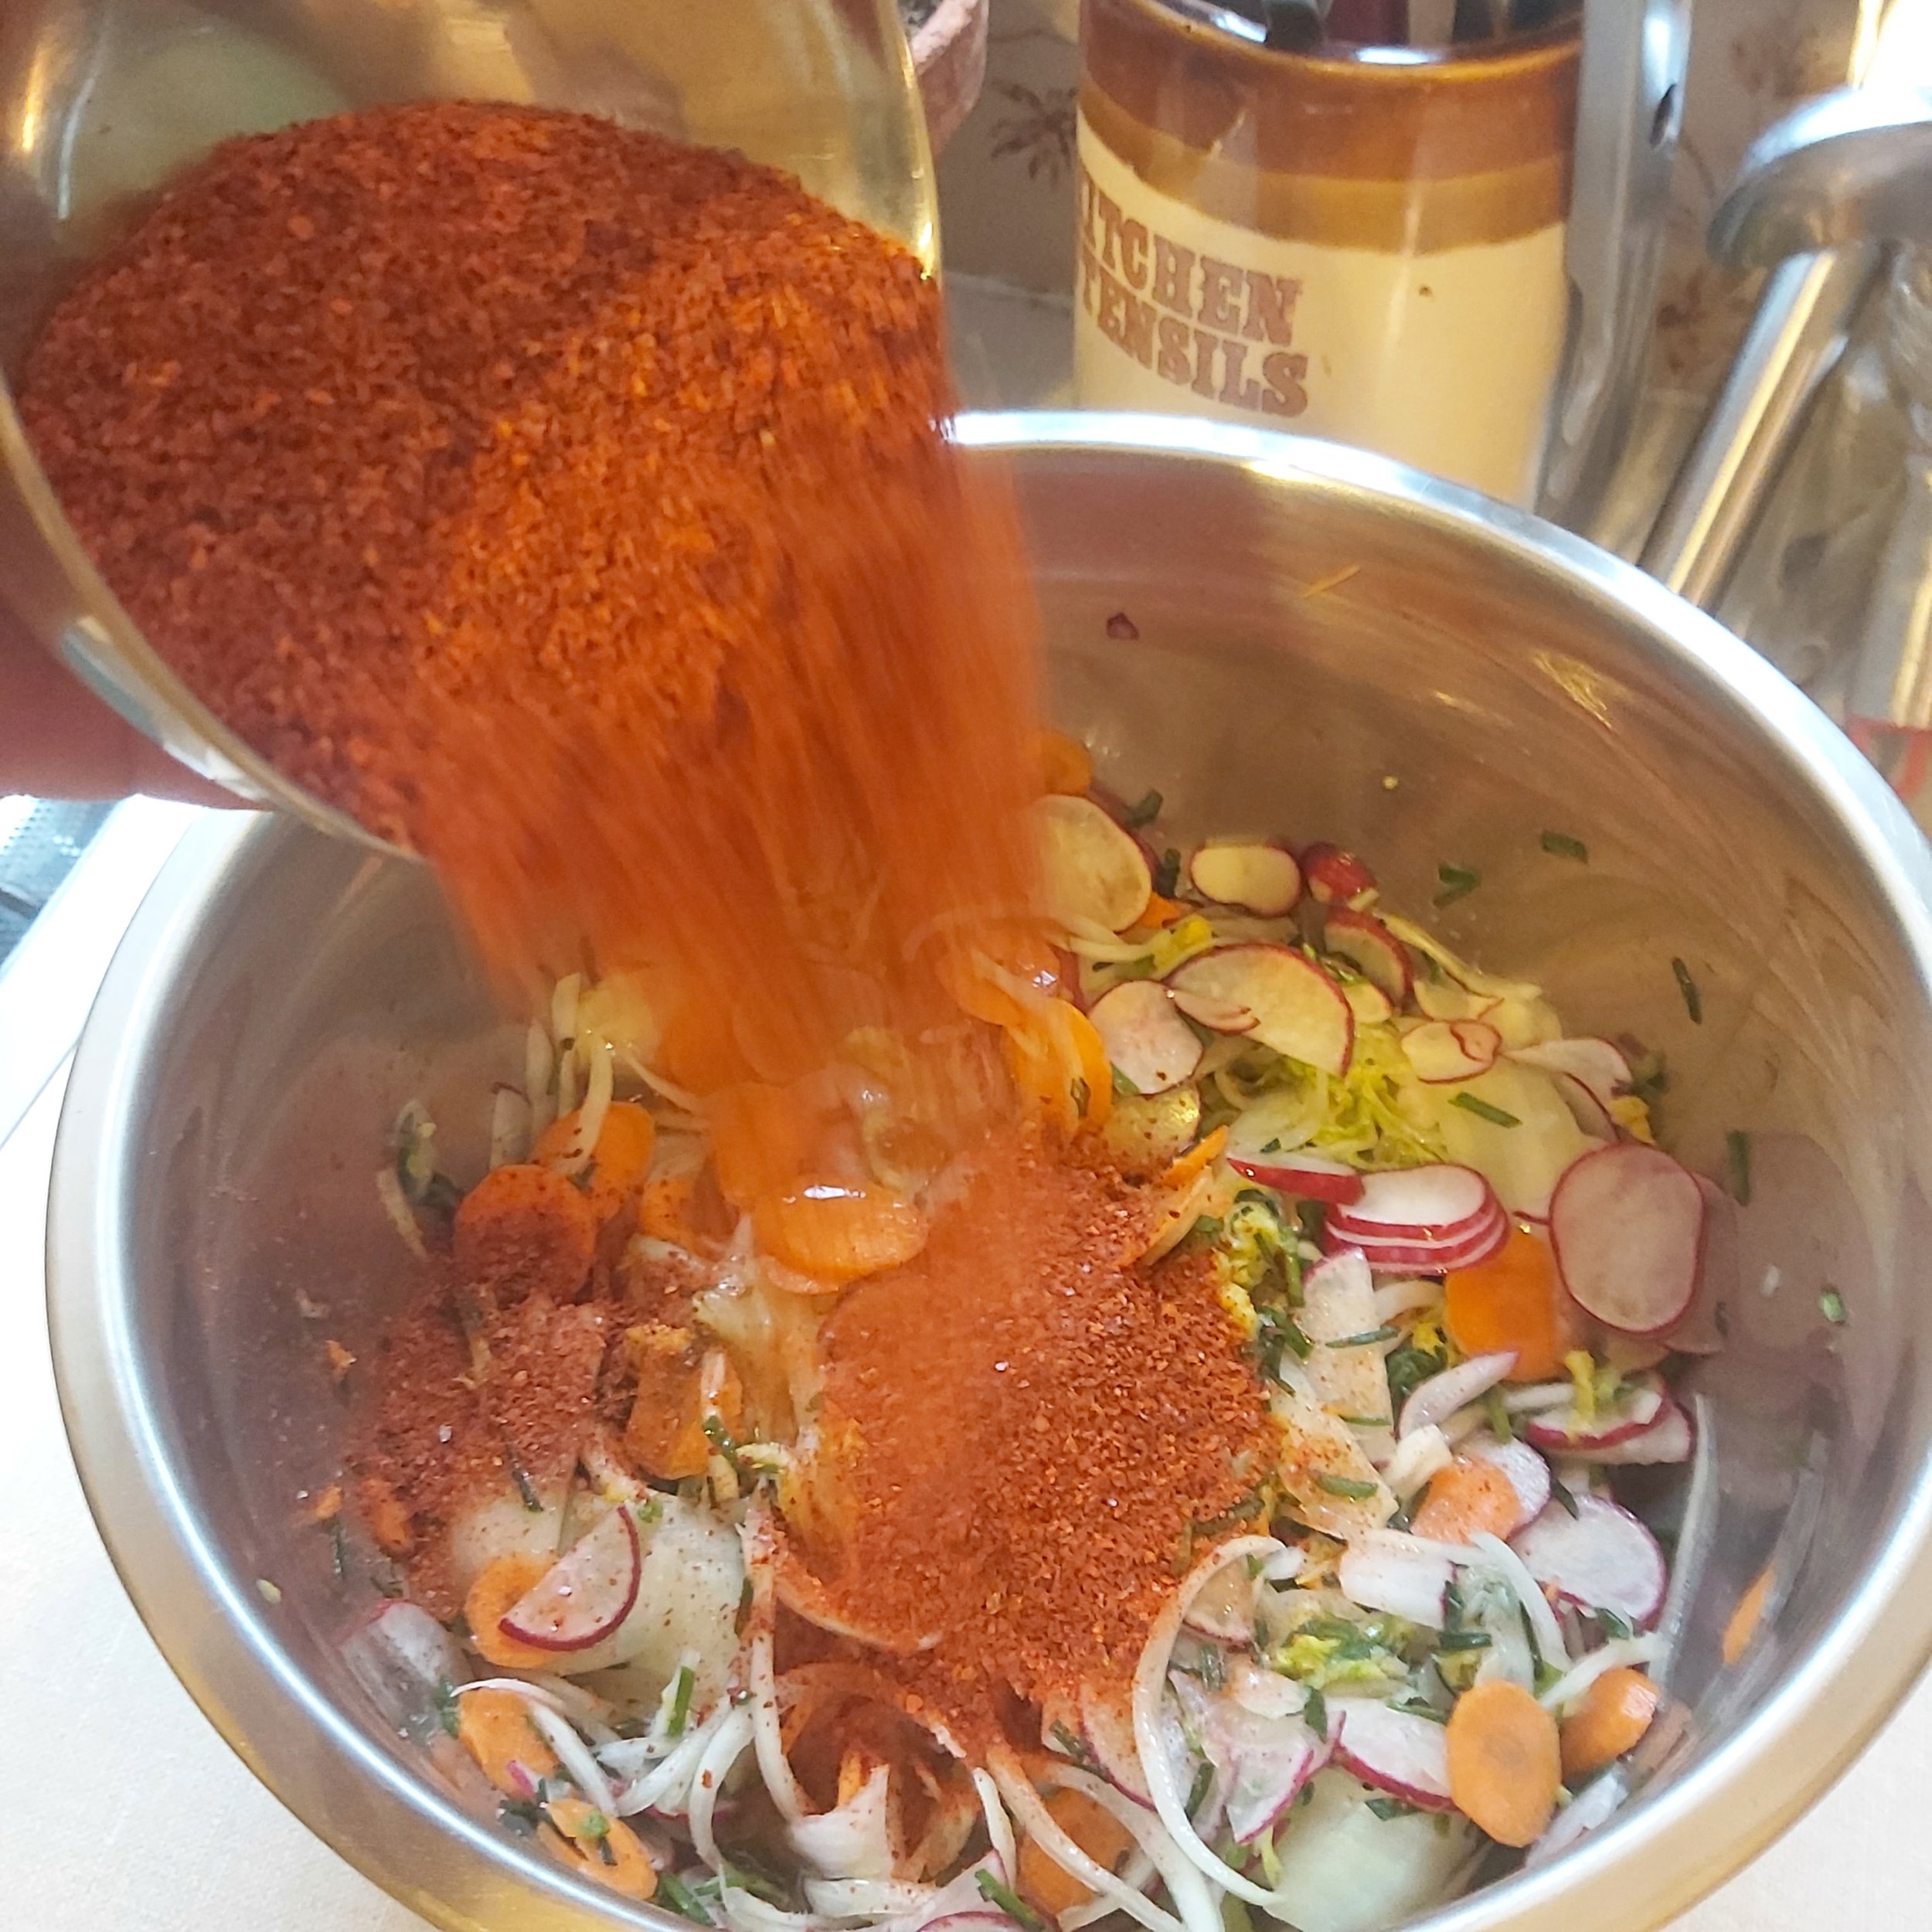
Sprinkle the gochugaru, kombucha vinegar, fish sauce and mirin over the lot of them, and finely grate the garlic and ginger in using a microplane. If you don't have a microplane, you can use a mortar and pestle, or pulse your garlic and ginger in a food processor, though this sort of defeats the point of not using a flavour paste. Get your hands in there and mix, making sure everything is even dispersed and well coated.

Finally, it's time to ferment! Transfer your kimchi and juices into your fermentation vessel of choice, preferably using a canning funnel so as to not make a big mess like I did. Leave a 2-inch gap at the top, and be sure to tamp the vegetables below the surface of the liquid. This, combined with all that delicious salt, should prevent any mold from getting a foothold in your ferment. Optionally, you can add fermentation weights to keep them down. I use a large glass jar with a fancy airlock lid, but a regular mason jar works fine too. Just make sure that if you use a fully sealed vessel that you open the jar at least twice daily to allow gas to escape, cause this is about to get bubbly! Honestly, maybe just leave the jar ever so slightly ajar, because once those good little bacteria get started they can really go, and we are trying to make kimchi, not a vegetable-based explosion!
Leave your kimchi in a dark, room-temperature place for approximately two weeks, checking every day or two to taste it and tamp any vegetables that are poking up back under the surface. Once it's achieved your desired levels of crunch, tang, and funk, simply keep it in the fridge for up to two months. Though, let's be honest, it won't last that long, because this kombucha kimchi is gonna blow your mind! It makes it so easy to add delicious, good-for-you fermented vegetables to any meal!


Thank you for reading, and I hope you enjoy! I'm always down to chat about the magic of fermentation over on our Instagram if you have any questions. Cheers! -Drew
